Friday, September 28, 2012

Have you Pierced Lately?

Hello Stamping Friends,

Welcome to another Fabulous Friday posting with the Sisters in Stamping.  This week we are sharing with you projects that use paper piercing on them.  I love the way this card turned out.  I think hot air balloons are so cool. Never been in one, but sure would like to. Guess that'll be on the bucket list now.  Hope being that high in the sky won't be too scary for me, lol. With that said of course I loved the You're Amazing stamp set and the coordinating designer series paper, World Spectacular.

 
I used the apothecary accents framelits after I stamped the Happy Birthday greeting.  I then used the Essentials Paper Piercing pack to pierce around the edge of the framelit. It adds the perfect finishing touch.  I love the new piercing packets so much.  Did you happen to see there's one in the holiday catalog too that coordinates with even more great framelits and stamp sets?  Go check it out.
 
Stamping Supplies Used:
Stamps: You're Amazing
Ink: Island Indigo
Cardstock: Daffodil Delight, Whisper White, & Island Indigo, World Spectacular Designer Series Paper
Accessories: Dimensionals, Snail Adhesive, Paper Piercing Tool, Stampin' Pierce Mat, Essentials Paper-Piercing Pack, Paper Snips
 
Don't forget to head over to the Sisters in Stamping blog for even more great ideas using the new piercing tools.
 
Also, don't forget there's still a few days for my special. Click HERE for all the details that were posted yesterday about it.
 

Thursday, September 27, 2012

Time to Pick Up Your Things

Hello Stamping Friends,

Yes, it's time to pick up your clothes and toys and put them away. And I've got just the thing for you, a dresser.  Isn't this a sweet card to give to that new baby?  Okay you can even change out the belongings and change the color to whatever age you need.  Great masculine card, too. The possibilities are endless.

 
This card is made using a half of sheet of cardstock cut vertically.  Fold it in half, stamp using the wood grain background stamp and then make the bottom of the dresser using the decorative label punch. You will have to punch it twice to get the opening wide enough to look more like legs on a dresser.  The worst part of this card for me is the coloring of the little pieces, some other people would say cutting out the little pieces would be a nightmare. Guess it's all about perspective, lol
 
Stamping Supplies Used:
Stamps: Wood Grain Background stamp, Baby Bundle
Ink: Pretty in Pink, Basic Grey, Stampin' Write Markers: Sahara Sand, pretty in pink, so saffron, wisteria wonder
Cardstock: Pretty in Pink, Whisper White
Accessories: Subtles Brads, 1/16" punch, dimensionals, paper snips, decorative label punch, snail adhesive


Wednesday, September 26, 2012

Some 3x3 cards for you

Hello Stamping Friends,

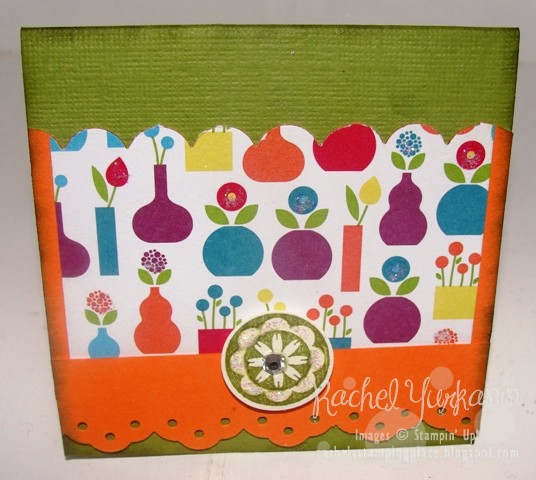
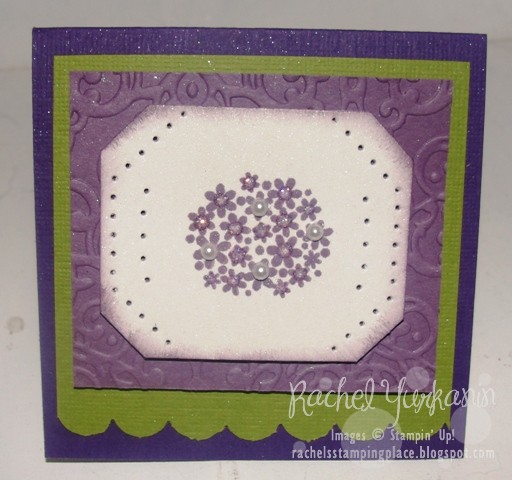
Hope you are ready for some great inspiration today. Today I'm bringing you some great 3x3 cards that one of the members of my downline (Maria P) made and shared at a recent demonstrator meeting.  Maria is always so willing to share her creations with us at meetings and she is so talented. Thanks Maria for sharing. I always love seeing what you create.

 
The Quint Essential Flower stamp is the perfect size to fill a 3x3 card nicely.

 
Some punches and the great Summer Smooches DSP to make this adorable card.

 
Quint Essential again with the wood grain embossing foler.

 
Some simple embossing with the big shot and some flowers from Perfectly Preserved.
 
Aren't these cards awesome.  Great little cards that can even be made into tags for some gift bags. Again, Maria, thank you so much for sharing your talent with us.
 

Tuesday, September 25, 2012

Still Punchin'

Hello Stamping Friends,

I'm on a punchin' kick, I guess. Today there's another punch card for you.  Yes, it was made at my punch class too.  This one was a favorite of mine because it reminded me of those simple toys we used to have as children. Nowadays, the toys are so intricate and complicated that I need a kid to show me how to use it, lol.  Tell me that you haven't run into that.

 
This card only uses two punches to make the stacking rings. Cool,huh?  Plus, I just love, love, love the polka dots that are all over this card. You know how I love my polka dots.  I even added more polka dots with the big shot. Simply couldn't help myself.
 
Stamping Supplies Used:
Stamps: Sweet Essentials (it's the hello, baby that is stamped on the red polka dot paper)
Ink: Basic Black
Cardstock: Whisper White, Tempting Turquiose, Old Olive, Daffodil Delight, Pumpkin Pie, Real Red & Polka Dot Parade Designer Series Paper
Accessories: Big Shot, Perfect Polka Dot Embossing Folder, Snail Adhesive, Word Window Punch, and 1 3/4" circle punch

Monday, September 24, 2012

Here Comes the Bride

Hello Stamping Friends,

Today I'm sharing with you another card that was made at one of my punch classes.  Who would have thought you can make a bride from a bunch of punches?  Not me, but I'm sure glad other stampers/crafters are so creative that I can take their idea and make it.  Isn't this neat? I decided to make the card in blue, you know, something old, something new, something borrowed, something blue, ..... Well I took someone's idea (old and borrowed),  made it a little different (making it new) and made it in blue. See I covered all my bases.

 
If you love Stampin' Up! punches and want to make some of your own creations using these punches in new and creative ways, be sure to come to my punch class. It's offered the second Tuesday of every month. I have so much fun making the cards for these classes.  I'm constantly amazed at how much you can make with a circle, square or any other punch for that matter.
 
Stamping Supplies Used:
Stamps: None
Ink: None
Cardstock: Marina Mist, Whisper White, Soft Suede, Blushing Bride (retired), and Old Olive
Accessories: Big Shot, Framed Tulips Embossing Folder, Elegant Lines Embossing Folder, Fancy Fan Embossing Foler, Basic Rhinestones, Snail Adhesive, Dimensionals, Paper Snips, Blossom Petals Punch, Large Oval, Petite Pennants Builder Punch, Elegant Butterfly Punch, Bird Builder Punch

Sunday, September 23, 2012

October Stamping Classes

**Stampin’ Classes**
By Rachel Yurkanin – Stampin Up! Demonstrator
570-689-5371 Email: dryurkanin@comcast.net

 Gather your friends for a night of fun while you earn free stamps and supplies. These would include ideas for cards, invites, favors, decorations, etc. We can customize it for you. Now booking October and November parties, private classes and girls night out.

Join the Stampin' Up! family and my team this month for ONLY $99. You get to choose $125 worth of product. You can check that out on my website (see above). Contact me for more information. I'd love for you to join the team.


October 2012 Classes


Classes are held at my home unless otherwise noted.


World Cardmaking Day: Saturday, October 6, 2012 2:00 PM

• Make 6 different cards using the Ronald McDonald House Charities set, Moving Forward. $3.00 from the sales of each set is donated to the charity.
• As part of this class you will receive the Moving Forward set. (Shown above)
• Fee for this class will be $25.00 for the clear mount set and $30 for the wood mount set. This fee includes all supplies to complete the cards. All you need to bring is your own snail adhesive and clear block D if you select the clear mount set.
• Registration Deadline: Friday, September 28, 2012


Let’s Get Punchy Class: Tuesday, October 9, 2012 6:30 PM
• Make 2 different 6x6 pages and 2 cards of characters/things using Stampin’ Up! Punches. The pages and cards will use the same characters/things.
• This class will be offered on the second Tuesday of every month.
• Fee for this class will be $10.00. This fee includes all supplies to complete the pages and the cards. All you need to bring is your own snail adhesive.
• Registration Deadline: Friday, October 5, 2012


Halloween Trick or Treat Class: Sunday, October 14, 2012 2:00 PM
• Make 5 treats for Halloween to pass out to all your special trick or treaters, both young and old
• These ideas can easily be switched to a Thanksgiving, Christmas, Birthday or any other special occasion.
• Fee for this class will be $20.00. This fee includes all supplies to complete the treats. All you need to bring is your own snail adhesive.
• Registration Deadline: Wednesday, October 10, 2012


Big Shot Club, Sunday, October 21, 2012 2:00 PM

Do you love the big shot but can’t justify the expense all at once? Well, I have the perfect club for you. Read on for all the details.
• This club will run for 4 months and be $46 a month.
• At the end of the club you will have your own big shot machine, one die ($21.95), one textured impressions folder ($7.95), one Bigz L Die ($32.95), one embosslit die ( $11.95), and one sizzlit die ($5.50).
• This is plenty of supplies to have a lot of fun playing with your new big shot at the end of the club.
• Each month we will meet and I will share 3 projects with you (that you will make as well) using the big shot. By the end of the club you will know how to work all the great tools that are available for the Big Shot. We won’t be using just paper either. I will show you several different materials that work wonderfully with the Big Shot.
• If you are unable to attend the make n take session, you can still join this club. I will make the projects for you and get them to you. So this is a club for everyone.
• Plus as a club member you will also receive $25 in hostess credit that you can use towards exclusive hostess sets and other catalog merchandise
Isn’t this a sweet deal?
• If you already own the Big Shot you are welcome to attend the class for $10 per month.
• Registration Deadline: Thursday, October 19, 2012
Stamp-A-Stash: Thursday, October 25, 2012 – 6:30 PM
• Make 12 cards: 3 designs, 4 of each design. Great way to build your card collection so you won’t be caught without a card for the next special occasion.
• Cost: $20.00 – Includes all supplies to complete the cards and envelopes. All you need to bring is your own snail adhesive.
1/2 Price Class fee with a $25.00 order
FREE class with a $50 order
• Registration Deadline: Tuesday, October 23, 2012
Holy Cross High School Craft Show, Drinker Street, Dunmore Pa
Sunday, October 28, 2012 10:00 AM - 4:00 PM

• Come see me at the craft show. I will have several different items for sale including cards

Set sail for a new baby

Hello Stamping Friends,

NO, I'm not having a baby. Don't go starting any rumors.  Just sharing with you a card that we made at a  punch class I had.  So cute, isn't it?  Only 3 punches are needed to make the sailboat. (Yes, I used 5 punches total on the card, but I did say only 3 for the sailboat, lol)  Change the greeting and you can easily use this card for a little boy's birthday.

 
I love how bright and playful it looks.  I used the summer smooches paper to pick out my color combo.  So glad that it worked to use primary colors that are great for kids cards.  I know I say this all the time but this again would be a good card to make multiples of and maybe give as a gift. Now that my brain is rolling, they would make great invitations to a party or even good for thank you cards for a shower or birthday party.  What do you think?
 
Stamping Supplies Used:
Stamps: Curly Cute
Ink: Pacific Point
Cardstock: Whisper White, Daffodil Delight, Real Red & Pacific Point, Summer Smooches Designer Series Paper
Accessories: Yellow grosgrain ribbon, postage stamp punch, 3/4" in square punch, 1 3/4" circle punch, scallop edge punch, 2 1/2" circle punch, dimensionals, snail adhesive
 
Thanks for stopping by!