Friday, June 10, 2011

Say it Isn't So

It's time to say goodbye to many of our favorite stamp sets. I know it's hard to believe that it's that time of year again but it's true.  Come June 30th, many sets will be retired.  This week at Sisters in Stamping we are sharing with you some of our favorite stamp sets that will be leaving us in a few short weeks.

I dedided to work with the nice and easy notes set.  I love this set because it's great for new stampers.  There's a little something for almost every occasion all in one set.  It's a great beginner set.  Get the set, black stamp pad, some cardstock and some coloring medium and you are ready to make a ton of cards.

I picked the birthday cake for several reasons.  1. You can never have enough birthday cards.  2. I'm stamping birthday cards with one the classes at the elementary school today. 3. I'm hosting (and participating) in a shoebox swap later this evening and needed a quick card for everyone to make.  How are those reasons.  This ended up doing triple duty for me.  Gotta love when one card can be used for so many different things.  lol

I also used the retiring Sweet & Sour Specialty Designer paper on the card.  I'm really going to miss this paper.  I've used it a lot.  The cake was watercolored using Rose Red and Pumpkin Pie ink pads and a blender pen.  To finish it off, I glittered the top of the candles and the icing on the cake.

Don't forget to head over to Sisters in Stamping for a few more retiring stamp set ideas.


Friday, June 3, 2011

Fabulous Father's Friday

Say that three times fast.  lol   Welcome to another Fabulous Friday posting.  This week at Sisters in Stamping we are showcasing Father's Day cards.  Any of these cards can easily be turned into a Birthday, thank you, or thinking of you card for any male in your life that you need to give a card to.


I decided to use the single stamp from the Summer Mini Catalog called Sail Away.  It's a nice size stamp that you can use alone on a card.  I used the retiring (at the end of this month) Sanded background in Baja Breeze to add more of the water look to the card.  The sailboat was stamped in Soft Suede on Crumb Cake cardstock.  I used a blender pen with crumb cake, baja breeeze and soft suede classic ink pads to color it in.  For the greeting I used the Wonerful Favorites set.  That has every family member covered.  I decided to finish it off with the Early Espresso/White Baker's Twine (also in the Summer Mini Catalog).  And of course (but you already know this, right) the whole main image is attached to the base using dimensionals.

Don't forget to check out the Sisters in Stamping blog for even more masculine/Father's Day ideas. 

If you haven't checked out the retiring lists yet, be sure to do that.  The links can be found on the side of the main page of my blog.  There is separate links for each list: stamps, accessories, and decor elements.


Wednesday, June 1, 2011

They're Here!!!!

It's June 1st and they have arrived.  What? you ask.  The retiring lists, stamps, accessories and decor elements.  Be sure to check out the list and place your order today.  The accessories and decor elements are on a first come, first served basis.  Once they are gone, they are gone forever.


Last Chance Retiring Stamps     CLICK HERE

Last Chance Retiring Accessories    CLICK HERE

Last Chance Retiring Decor Elements     CLICK HERE

Mark your calendar now for my annual Retirement Party, Friday, June 17, 2011.  More details to follow.  However, as I mentioned above, don't wait to order your retiring accessories until then because they really DO move FAST.


Friday, May 27, 2011

Easy, Quick Scrapbooking, how can that be?

Welcome to another Fabulous Friday with the Sisters in Stamping.  This week we are focusing on a great, relatively new product Stampin' Up! is carrying, My Digital Studio.  It's a great product that allows you to create beautiful, quick, easy scrapbook pages or entire books with the touch of some computer keys.  It doesn't take up much space, it portable (with a laptop, of course), and there is no waste.  If you don't like the look of something you did, the "undo" button is your best friend.


I created this page in order to gear up for the beach. Our family loves heading out to the beach for the day as often as we can.  I started the page from the create your own option.  I then used one of the photo layout options that is included in the program.  Dropped and cropped my pictures.  Addded some "stamps" from the Enjoy Every Moment stamp set for the title of my page and finished it off with some journaling over one of my favorite types of photo (the back shot of a Daddy and his son). 

I really like the fact that if I "mess up" I can easily fix that mistake with the "undo" button.  It's nice that you can also move page layers forward or backward if you decide to add one after you have already started your page and decide that it needs something more.

It really is a great program.  I'd love to show you more options showcasing this great product, so let me know if you are interested.  You can create cards, calendars, individuals pages or whole books, and so much more.

Don't forget to check out Sisters in Stamping for other ideas using My Digital Studio.

Have a great Memorial Day weekend.

Friday, May 20, 2011

Three for One Week

This week over at Sisters in Stamping we are highlighting the awesome new Triple Layer Punches available from the Summer Mini Catalog.  In essence, when you purchase one of these punches you get three punches.  You determine which punched piece you get by switching the little lever between the three images.  How cool is that?

I did a very simple card that would be sure to brighten anyone's day.  I used both of the punches, the doily and the flower to come up with different combinations.  It was quick and fun to put together.  Great idea if you are in a pinch and need a card ASAP.

I really love the clean look of white cardstock and have been using a lot of it lately.  For this card my base is white, then I used brushed silver cardstock for the next layer and the final layer is white. 


I used silver brads in the center of each "flower" to tie in the silver cardstock.  The above picture is a close up of the flowers.  I made three different designs of them for this card and just repeated it with opposite colors.  And guess what, I used dimensionals to attach each one of these babies to the card. (Like you didn't know that already!)


Here's one final look at the card (from a different angle).  The punched pieces are from Melon Mambo and Pumpkin Pie cardstock.  Love the pink and orange look.  Don't forget to hop on over to Sisters in Stamping for even more great ideas using these punches.

Have a fabulous weekend. And as always, thanks for stopping by.

Friday, May 13, 2011

Time to Scrapbook

 This week at Sisters in Stamping we are focusing on traditional Scrapbooking in honor of National Scrapbooking Month. Check back later in the month when we will be focusing on Digital Scrapbooking.

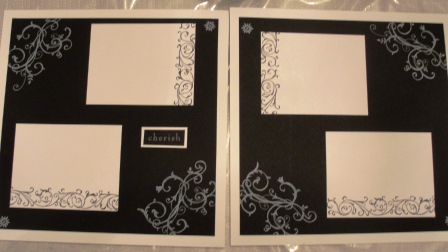
I designed a two page spread using only Black and White (both cardstock and ink) in hopes of using it for Brittney' wedding (which is less than 2 months away).


Here is page one (please excuse the photo, not sure what happened).  It is a very simple layout but I think it is very elegant and can't wait to see some wedding photos on it.


Here's the second page.  Very similar to the first page.  Easy and definitely easy to duplicate.


Here are the two pages together. I used the Baroque Motif stamp set and the baroque wheel. Aren't they pretty?

Don't forget to check out the Sisters in Stamping blog for more scrapbook pages.

Friday, May 6, 2011

Fab Friday & Teacher Appreciation all Wrapped Up in One

Hello Stamping Friends,

Welcome to another Fabulous Friday posting.  Over at Sisters in Stamping we are focusing on our favorite set from the Summer Mini Catalog.  BTW, that wasn't an easy thing to do. Picking just one stamp when there are so many great ones in there. 

But I did it. I picked just one (and the coordinating wheels, of course).  I love the set, Recess.  It's such a fun kids set. Besides who doesn't love recess?  You get to play hopscotch, slide, swimg, jump rope and just have some good 'ole fashioned fun.  I think I like it so much too because I can see using it when I go in to work with Jonah's class (or someday when I have my own classroom).  I guess I can get creative and use it when I sub too.

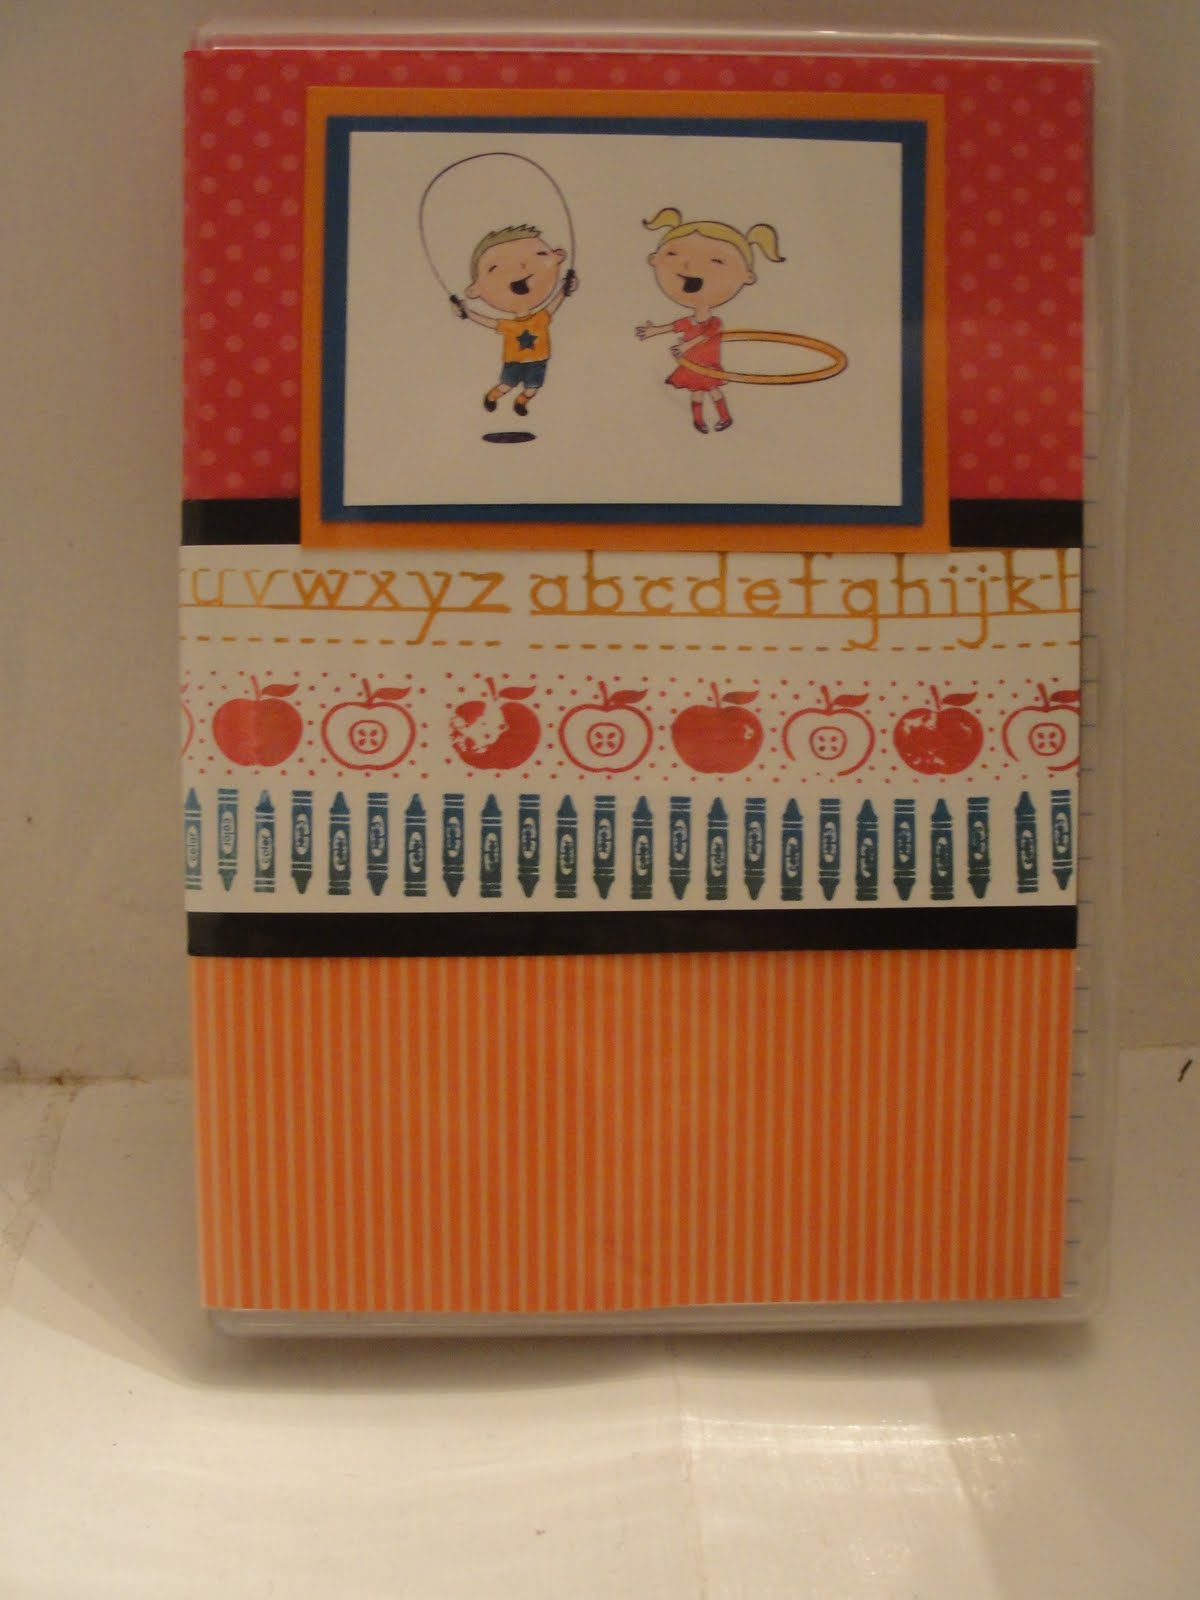
For today's project I paired the set with some fun bright colors to make a cheery notepad holder that any teacher can certainly put to use for one reason or another.  The case of the holder is one of our clear stamp cases. And yes, you can buy them.  They are in the big catalog for $4.95 for 4 empty cases.  Anyway, back to the project. I used melon mambo and pumpkin pie Designer Series paper from the Brights stack.  For the stamped image I threw in a little Pacific Point cardstock for even more color.


 The center strip is wheeled using the Elementary Alphabet, For Teacher, & School Colors wheels.  I created a ink cartridge in the coordingating colors, Melon Mambo, Pumpkin Pie, & Pacific Point.  It creates a fun little accent for this project and would work great on cards too.

Here's a picture of the open case with the junior legal pad inside. I must tell you that you do need to get the tablets cut down about 3/4" - 1" so they fit nicely inside.  They are just a bit too long to fit otherwise.  Notice the inside of the case looks decorated.  Well that's because Stampin' Up!'s Designer paper is double sided which makes decorating the outside and inside very easy to do.   When you finish putting your "wrap" together you just slip it between the case and the clear plastic cover. Easy as that.

Now I know I mentioned that Fab Friday and Teacher Appreciation are all wrapped up in one and you are saying, "How?" right?  Well I made one for Jonah's teacher and he was very excited to take it to her today. Hope she enjoys it.

Don't forget to head over to Sisters in Stamping to see which sets are the other sisters favorites.